Docker+Django
Preparation
This series of tutorial is aimed to help Docker beginners or people have experience of Docker but have no idea how to build Django project over it and deploy..
What is Docker?
Docker is a Linux-based container technology, which can package your code and the environment required by the code together, and assemble into a standard, lightweight, and safe isolated environment. Docker is designed to make it easier to create, deploy, and run applications by using containers. Containers allow a developer to package up an application with all of the parts it needs, such as libraries and other dependencies, and deploy it as one package.
A Docker container can be seen as a computer inside your computer. The cool thing about this virtual computer is that you can send it to your friends; And when they start this computer and run your code they will get exactly the same results as you did.
Build, Ship and Run!
Why Docker?
Imagine you are working on an analysis in Python pandas and you send your code to a friend. Your friend runs exactly this code on exactly the same data set but gets a slightly different result. This can have various reasons such as a different operating system, a different version of python environment, et cetera. Docker is trying to solve problems like that.
Dev Environment
Although Windows version Docker is an option, the compatibility is not quite good in all aspects (installation is also troublesome), thus it is recommended that Linux or MacOS is used for this tutorial. Once we get the Django project done, it can be run on Windows without problem.
Requirement
$ sudo snap install docker
Setup a virtual enviroment
$ sudo pip3 install virtualenv
$ cd ~
$ sudo mkdir -p djangodemo && cd djangodemo
$ sudo virtualenv .
$ source bin/activate
Initiate a Django project
$ pip install django // Do not use python3 or sudo
$ django-admin startproject demo
$ cd demo

demo
├── demo
│   ├── asgi.py
│   ├── __init__.py
│   ├── settings.py
│   ├── urls.py
│   └── wsgi.py
└── manage.py
Now we are going to migrate data
$ python manage.py migrate

Running migrations:
  Applying contenttypes.0001_initial... OK
  Applying auth.0001_initial... OK
  Applying admin.0001_initial... OK
  ...
  Applying sessions.0001_initial... OK

$ pip freeze > requirements.txt
Run Docker
Pull the hello-world image from Docker Hub and run a container:
$ docker run hello-world
docker : Unable to find image 'hello-world:latest' locally
latest: Pulling from library/hello-world
1b930d010525: Pull complete
Digest: sha256:c3b4ada4687bbaa170745b3e4dd8ac3f194ca95b2d0518b417fb47e5879d9b5f
Status: Downloaded newer image for hello-world:latest

Hello from Docker!
This message shows that your installation appears to be working correctly.
...
Once you see "This message shows that your installation appears to be working correctly.", you are good to go.
Top docker commands
$ docker images // List local images, you should see hello-world
$ docker ps -a // show all the running and exited containers
$ docker pull  // pull images from the docker repository (hub.docker.com)
$ docker run  // create a container from an image
$ docker exec -it <container id> bash  // access the running container
$ docker stop <container id>  // stop a running containe
$ docker kill <container id>  // kills the container by stopping its execution immediately
$ docker commit <conatainer id> <username/imagename>  // creates a new image of an edited container on the local system
$ docker login  // login to the docker hub repository
$ docker push <username/image name>  // push an image to the docker hub repository
$ docker rm <container id>  // delete a stopped container
$ docker rmi <image-id>  // delete an image from local storage
$ docker build <path to docker file>  // build an image from a specified docker file
Dockerfile
Docker allows you to build an image from a formated text file, called Dockerfile. Let's make a file Dockerfile under the root directory of project and put info below in:
$ touch Dockerfile
$ vim Dockerfile
# pull Linux environment with python 3.6
FROM python:3.6
# set python environment variable
ENV PYTHONUNBUFFERED 1
# create code folder as set it as workspace
RUN mkdir /code
WORKDIR /code
# upgrade pip
RUN pip install pip -U
# copy requirements.txt into the code folder in container
ADD requirements.txt /code/
# pip install required packages
RUN pip install -r requirements.txt
# copy current folder into the code folder in container
ADD . /code/
Now your project folder should like this
├── db.sqlite3
├── demo
│   ├── asgi.py
│   ├── __init__.py
│   ├── __pycache__
│   │   ├── __init__.cpython-36.pyc
│   │   ├── settings.cpython-36.pyc
│   │   └── urls.cpython-36.pyc
│   ├── settings.py
│   ├── urls.py
│   └── wsgi.py
├── Dockerfile
├── manage.py
└── requirements.txt
Docker-compose
In production environment, it is usually not possible to put all the components of a project into the same container. We usually put each independent application (MySQL, Django etc) into a separate container, which is convenient for reuse. Therefore, there may be multiple containers running on the same server, docker-compose then can be adopted for defining and running multi-container Docker applications. With Compose, you use a YAML file to configure your application’s services. Then, with a single command, you create and start all the services from your configuration. Let's first make sure docker-compose is successfully installed:
$ docker-compose -v
docker-compose version 1.25.5, build unknown
docker-compose.yml
Let's create a docker-compose.yml under project root folder
version: "3"
services:
  app:
    restart: always
    build: .  # point means current folder
    command: "python3 manage.py runserver 0.0.0.0:8000"
    volumes:
      - .:/code
    ports:
      - "8000:8000"
Now let's test!
$ docker-compose up
You should be able to see this:
Creating network "demo_default" with the default driver
Building app
Step 1/8 : FROM python:3.6
3.6: Pulling from library/python
f15005b0235f: Pull complete
41ebfd3d2fd0: Pull complete
b998346ba308: Pull complete
f01ec562c947: Pull complete
2447a2c11907: Pull complete
da3a3213d74f: Pull complete
f651e23d51f3: Pull complete
469e71af0b61: Pull complete
b860a1a9fd72: Pull complete
Digest: sha256:53f66116f7122fe6045f68e14ee5bd82847d5a6f60f659bfc18ac13caf729fc9
Status: Downloaded newer image for python:3.6
 ---> c4f7d42f7b89
Step 2/8 : ENV PYTHONUNBUFFERED 1
 ---> Running in feb6b81a37fd
Removing intermediate container feb6b81a37fd
 ---> 7b477f7f9afb
Step 3/8 : RUN mkdir /code
 ---> Running in 51751a0e29ee
Removing intermediate container 51751a0e29ee
 ---> e9a3c66f35a3
Step 4/8 : WORKDIR /code
 ---> Running in 6897358aa401
Removing intermediate container 6897358aa401
 ---> 0a3790d054c3
Step 5/8 : RUN pip install pip -U
 ---> Running in 996fd7b19aee
Requirement already up-to-date: pip in /usr/local/lib/python3.6/site-packages (20.0.2)
Removing intermediate container 996fd7b19aee
 ---> f136bdd7dba6
Step 6/8 : ADD requirements.txt /code/
 ---> b36f035d1189
Step 7/8 : RUN pip install -r requirements.txt
 ---> Running in 545ff3d2e662
Collecting asgiref==3.2.7
  Downloading asgiref-3.2.7-py2.py3-none-any.whl (19 kB)
Collecting Django==3.0.5
  Downloading Django-3.0.5-py3-none-any.whl (7.5 MB)
Collecting pytz==2019.3
  Downloading pytz-2019.3-py2.py3-none-any.whl (509 kB)
Collecting sqlparse==0.3.1
  Downloading sqlparse-0.3.1-py2.py3-none-any.whl (40 kB)
Installing collected packages: asgiref, sqlparse, pytz, Django
Successfully installed Django-3.0.5 asgiref-3.2.7 pytz-2019.3 sqlparse-0.3.1
Removing intermediate container 545ff3d2e662
 ---> 7bb65960ffd8
Step 8/8 : ADD . /code/
 ---> acb253211c8f
Successfully built acb253211c8f
Successfully tagged demo_app:latest
WARNING: Image for service app was built because it did not already exist. To rebuild this image you must use `docker-compose build` or `docker-compose up --build`.
Creating demo_app_1 ... done
Attaching to demo_app_1
app_1  | Watching for file changes with StatReloader
app_1  | Performing system checks...
app_1  |
app_1  | System check identified no issues (0 silenced).
app_1  | April 16, 2020 - 05:40:47
app_1  | Django version 3.0.5, using settings 'demo.settings'
app_1  | Starting development server at http://0.0.0.0:8000/
app_1  | Quit the server with CONTROL-C.
app_1  | [16/Apr/2020 05:41:46] "GET / HTTP/1.1" 200 16351
app_1  | [16/Apr/2020 05:41:46] "GET /static/admin/fonts/Roboto-Bold-webfont.woff HTTP/1.1" 200 86184
app_1  | [16/Apr/2020 05:41:46] "GET /static/admin/fonts/Roboto-Regular-webfont.woff HTTP/1.1" 200 85876
app_1  | [16/Apr/2020 05:41:46] "GET /static/admin/fonts/Roboto-Light-webfont.woff HTTP/1.1" 200 85692
app_1  | Not Found: /favicon.ico
app_1  | [16/Apr/2020 05:41:46] "GET /favicon.ico HTTP/1.1" 404 1970
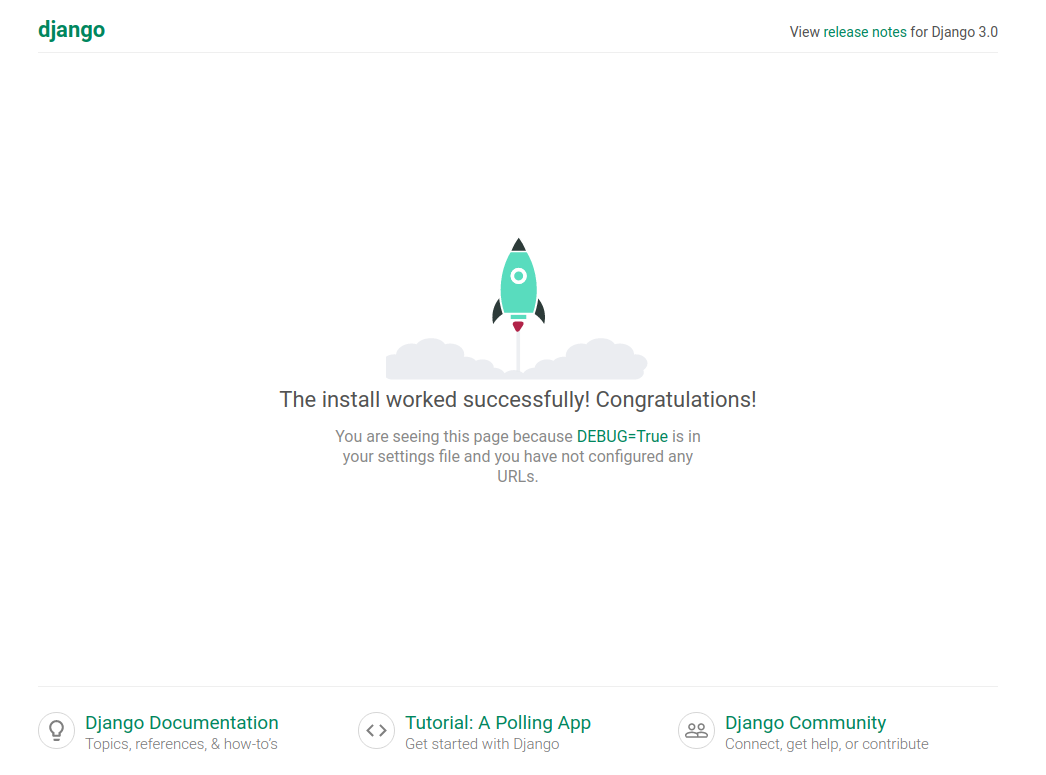
Now open your crowser, type 127.0.0.1:8000 and see if you can see the expected startup page, with its little rocket and message.
OK~ Ctrl + C to stop the running app, however the container is still there, just not in running, to delete the container, use:
$ docker-compose down
To run the container in the background:
$ docker-compose up -d
To rebuild the image:
$ docker-compose build
To start and stop existed container:
$ docker-compose start
$ docker-compose stop
