Virtual Environment in Windows
Why virtual environment
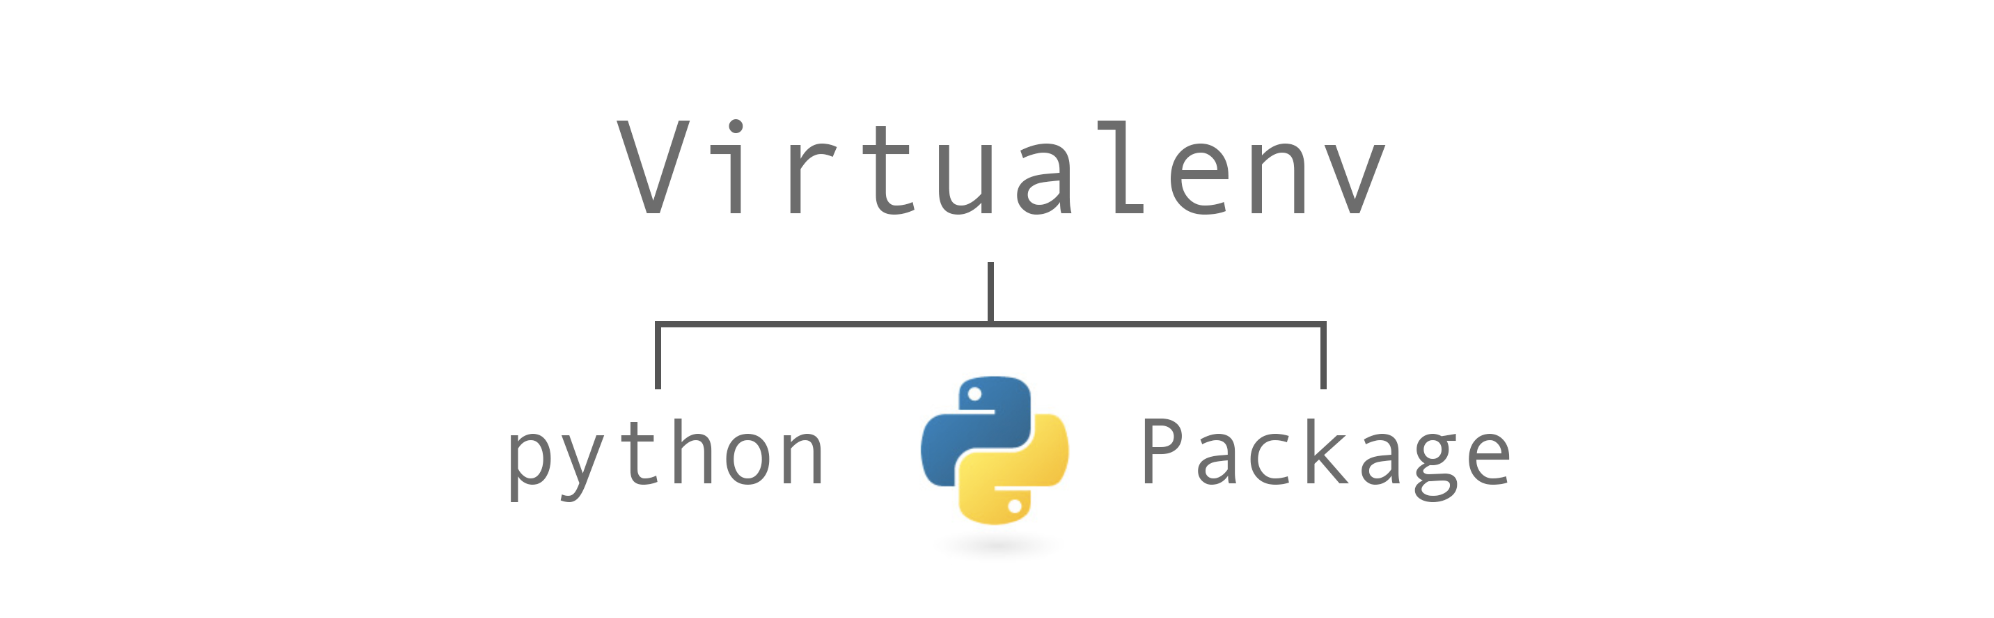
Python, like most other modern programming languages, has its own unique way of downloading, storing, and resolving packages (or modules). While this has its advantages, there were some interesting decisions made about package storage and resolution, which has lead to some problems—particularly with how and where packages are stored. Imagine you have an application that needs version 2 of a module, but another application requires version 3. How can you use and develop both these applications? If you install everything into /usr/lib/python2.7/site-packages (or whatever your platform’s standard location is), it’s easy to end up in a situation where you unintentionally upgrade an application that shouldn’t be upgraded. A Virtual Environment is a python environment, that is an isolated working copy of Python which allows you to work on a specific project without affecting other projects.
Install multiple Python versions
Assume you already have Python2.7 installed in your Windows, turn on cmd (In the Search or Run line, type cmd, and press Enter or Windows+R), check to make sure it is installed:
C:\Users\JWang> python ––version
You should be able to see something like Python 2.7.X. Now let's install Python3.6.
Click to download the installation file, install.
- Make sure to click “Install launcher for all users (recommended)”
- Check “Add Python 3.6to PATH” (to add the Python 3.6 executable to path)
Right now if you open a terminal window (Windows+r, cmd.exe) and run Python you will initiate the Python 3.6 interpreter. This is useful for just dropping in a Python interpreter.
Remember the “Install launcher for all users (recommended)” we clicked before? This installs the python launcher which is used to select between Python versions. If you run it without parameters the Python 3.6 interpreter will by started. You can pass the -2 parameter to start the python 2.x interpreter or -3 to explicitly declare the python 3.x interpreter:
C:\Users\JWang>py -2
Python 2.7.14 (v2.7.14:84471935ed, Sep 16 2019, 20:19:30) [MSC v.1500 32 bit (Intel)] on win32
Type "help", "copyright", "credits" or "license" for more information.
>>> ^Z


C:\Users\JWang>py -3
Python 3.6.4 (v3.6.4:d48eceb, Dec 19 2017, 06:04:45) [MSC v.1900 32 bit (Intel)] on win32
Type "help", "copyright", "credits" or "license" for more information.
>>> ^Z
With py we can easily start the Python interpreter we want. This is not enough though - we need to use virtualenv and create proper virtual environments for our projects. To do this you can add the -m option to py to run a module with the proper python version. For example, to start an http server with Python 2 you would use the module SimpleHTTPServer while for python 3 you would use http.server.
C:\Users\JWang>py -2 -m SimpleHTTPServer
Serving HTTP on 0.0.0.0 port 8000 ...

C:\Users\JWang>py -3 -m http.server
Serving HTTP on 0.0.0.0 port 8000 (http://0.0.0.0:8000/) ...
Set up virtual environments
Now, to create the virtual environments we’ll use the virtualenv module which is installed by default in Python 2.x (try running py -2 -m pip freeze to see the list of installed packages for Python 2.x) and the venv module which is included in the Python 3.x core. So to create a virtualenv for Python 2 we’ll run py -2 -m virtualenv name-of-virtualenv and for Python 3 py -3 -m venv name-of-virtualenv.
C:\test\py>py -2 -m virtualenv venv-2
New python executable in C:\progr\py\venv-2\Scripts\python.exe
Installing setuptools, pip, wheel...done.

C:\test\py>py -3 -m venv venv-3

C:\test\py>venv-2\Scripts\activate

(venv-2) C:\test\py>python -V
Python 2.7.14

(venv-2) C:\test\py>deactivate

C:\test\py>venv-3\Scripts\activate

(venv-3) C:\test\py>python -V
Python 3.6.4
That’s how easy it is to have both Python 2.7 and Python 3.6 in your Windows!
